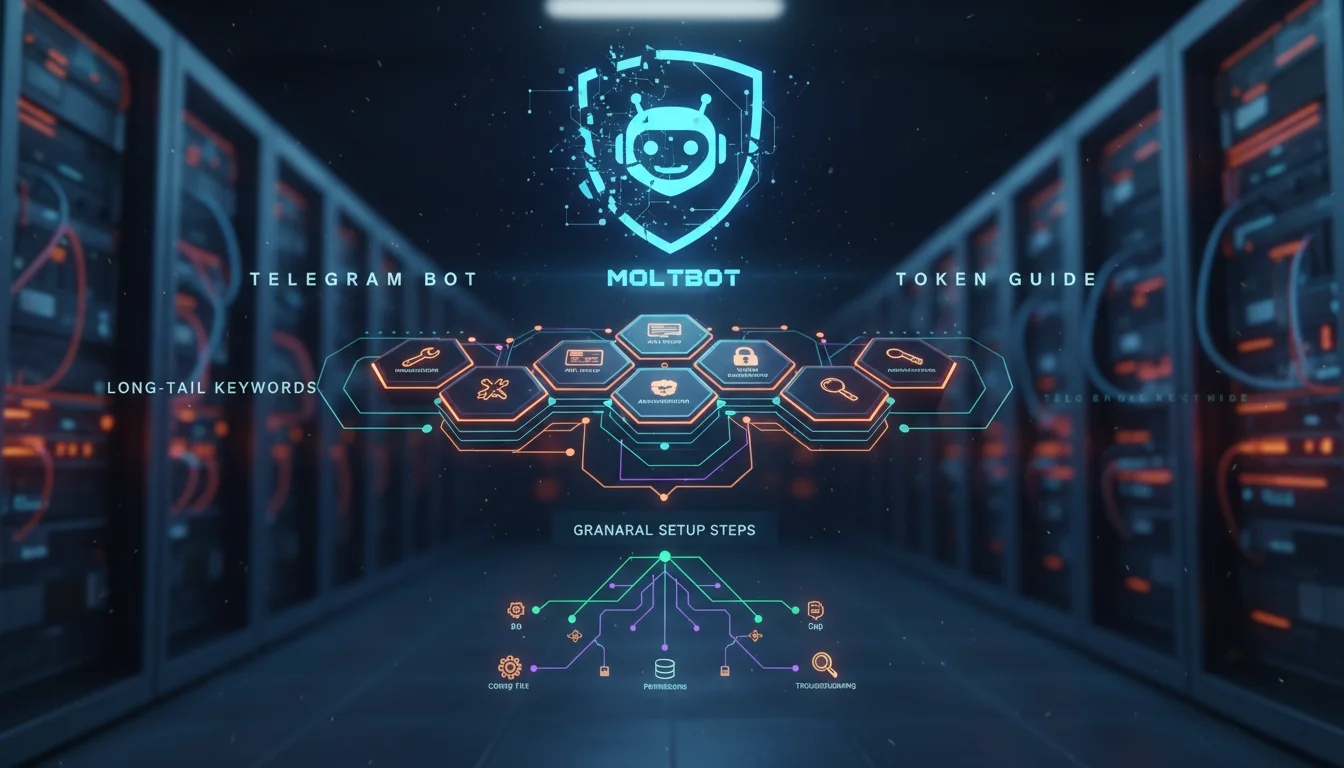

If you have recently jumped on the self-hosted AI bandwagon, you have likely heard of Moltbot (formerly known as Clawdbot). It is currently trending as the "24/7 AI employee" that runs locally on your machine, capable of managing your calendar, writing code, and even negotiating emails.
However, getting it to actually talk to you on your phone is where most users hit a wall. The GitHub README is fantastic for high-level architecture, but it often glosses over the granular steps required to get your Moltbot Telegram bot token configured correctly. Specifically, the handshake between your local server and Telegram’s API can be finicky, and the distinction between your Gateway Token and your Bot Token trips up even experienced developers.
This guide is the missing manual. We will walk through the exact steps to generate your token, configure the provider, and—most importantly—solve the "pairing code" issue that leaves many installations silent.
Understanding the Token Architecture
Before pasting commands, it is crucial to understand that Moltbot requires two different types of authentication to work with Telegram. Confusing these is the #1 reason for setup failure.
- Telegram Bot Token: This is generated by Telegram (via BotFather) and allows Moltbot to send/receive messages on the Telegram platform.
- Moltbot Gateway Token: This is internal to your Moltbot installation (often found in
.envasCLAWDBOT_GATEWAY_TOKENdue to the recent renaming). It secures the connection between your local dashboard and the outside world.
In this guide, we are focusing strictly on the Telegram Bot Token configuration to get your chat channel live.
Step 1: Generate Your Telegram Bot Token
First, we need to create the identity your AI will use. This happens entirely inside the Telegram app.
- Open Telegram and search for @BotFather (Note: Look for the blue verified checkmark).
- Start a chat and send the command:
/newbot. - Name your bot: This is the display name (e.g., "My Personal AI").
- Choose a username: This must be unique and end in "bot" (e.g.,
steve_molt_assistant_bot). - Copy the API Token: BotFather will reply with a long string looking like
123456789:ABCdefGHIjklMNOpqrsTUVwxyz. Copy this string immediately.
Pro Tip: While you are in BotFather, send the /mybots command, select your new bot, and go to Bot Settings > Group Privacy. Turn this OFF if you want Moltbot to be able to function in group chats later.
Step 2: Configure the Provider in Moltbot
Now that you have the token, you need to inject it into your Moltbot instance. Many users try to edit the config.json manually, but using the CLI is safer and reduces syntax errors.
Open your terminal (where Moltbot is installed) and run the following command. Make sure you are in the root directory of your Moltbot installation:
docker compose run --rm moltbot-cli providers add --provider telegram --token YOUR_PASTED_TOKEN_HEREIf you are running a bare-metal install (without Docker), the command is simply:
moltbot providers add --provider telegram --token YOUR_PASTED_TOKEN_HEREOnce entered, restart your Moltbot service to ensure the new variables are loaded:
docker compose restartStep 3: The "Pairing" Process (The Missing Step)
This is the step most guides omit. Just adding the token isn’t enough; for security reasons, Moltbot ignores messages from strangers. You must explicitly "pair" your personal Telegram account with the bot.
- Open Telegram and find your new bot using its username.
- Send the command:
/start. - The bot should reply (or check your server logs) with a Pairing Code. It usually looks like a 6-digit alphanumeric string.
- Go back to your server terminal and run:
moltbot pairing approve telegram <THE_CODE_YOU_RECEIVED>You should see a success message: Approved telegram sender <your-user-id>. Now, try saying "Hello" to your bot. It should reply intelligently.
Troubleshooting Common Token Errors
Even with a perfect setup, issues can arise. Here is how to fix the most frequent "long-tail" errors users search for:
1. "Unauthorized" or 401 Errors in Logs
This usually means the token you pasted is invalid. This happens if you accidentally copied a whitespace character. Go back to BotFather, generate a new token using /revoke, and re-run the providers add command.
2. Bot Doesn’t Reply to /start
If the bot is silent, check your container logs:
docker compose logs -f moltbotIf you see "PollingError," your server might be blocking the connection to Telegram’s API. Ensure your firewall allows outbound HTTPS traffic on port 443.
3. Confusion with CLAWDBOT_GATEWAY_TOKEN
Since the project was renamed from Clawdbot to Moltbot in early 2026, many internal variable names still use CLAWD. If the setup asks for a Gateway Token, do not paste your Telegram token. The Gateway token is found by running cat ~/.clawdbot/.env on your server.
FAQ: Moltbot & Telegram Integration
Is it safe to give Moltbot my Telegram token?
Yes, as long as you self-host. Since the code runs on your machine, the token never leaves your environment. However, never share your token on forums or GitHub issues.
Can I use Moltbot with WhatsApp instead?
Yes, but Telegram is generally more stable for developers. WhatsApp integration often relies on web-scraping protocols (like Baileys) which can be disconnected frequently. The Telegram Bot API is an official, supported method.
Why does my bot stop responding after a few hours?
This is often a "sleep mode" issue on the host machine. If you are running Moltbot on a MacBook or local PC, ensure the machine prevents sleep when the display is off. For 24/7 reliability, consider moving your Moltbot instance to a VPS or a Raspberry Pi.
Conclusion
Setting up a Moltbot Telegram bot token doesn’t have to be a headache. The magic lies in distinguishing between your gateway and bot tokens, and remembering to perform the manual pairing step via the CLI.
Once connected, you unlock the true power of Moltbot: a persistent, intelligent agent that travels with you in your pocket. You can now ask your home server to check logs, run research, or manage files directly from your Telegram chat, turning your messaging app into a command center.