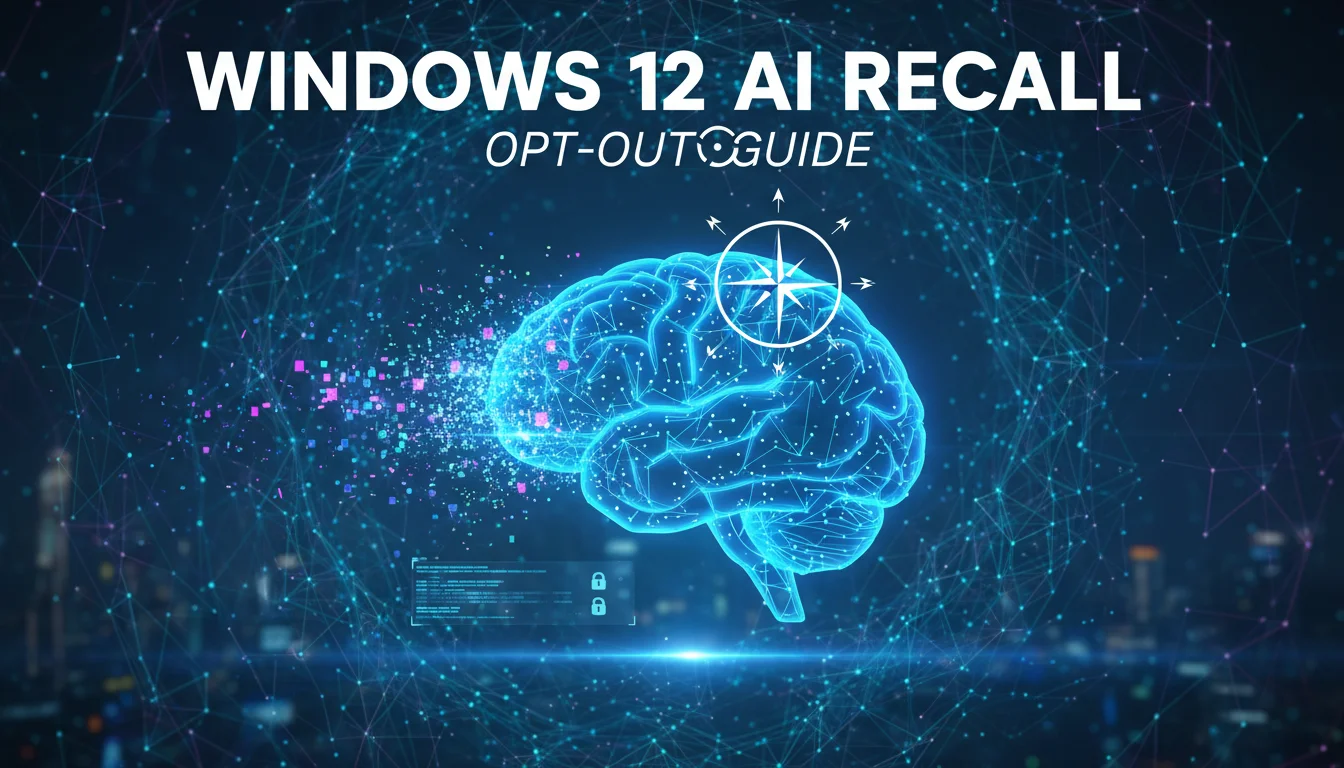

The release of Windows 12 has ushered in a new era of operating system intelligence, centered heavily around the integrated Neural Processing Unit (NPU) and the deeply embedded Copilot architecture. However, the return of the controversial "Total Recall" feature—an evolution of the Windows 11 Recall preview—has reignited fierce debates regarding user privacy, data sovereignty, and GDPR-compliant AI workflow automation.
For many IT professionals and privacy-conscious users, the idea of an OS feature that takes constant semantic snapshots of active workflows is a non-starter. While Microsoft assures users that data processing is local and encrypted via BitLocker, the potential for metadata leakage or forensic exploitation remains a valid concern.
This comprehensive guide employs a semantic SEO approach to break down exactly what Windows 12 AI Recall is, why you might want to disable it, and provides three distinct, verified methods to opt-out completely. Whether you are running Windows 12 Home, Pro, or Enterprise, this guide covers the necessary steps to regain control of your desktop environment.
Understanding Windows 12 "Total Recall": The Semantic Architecture
To understand how to effectively disable a feature, one must first understand its architecture. Windows 12 does not merely “record” your screen like a video file; it utilizes semantic indexing.
The OS leverages the NPU to analyze text, images, and context within active windows every few seconds. These snapshots are converted into vector embeddings and stored in a local semantic database (often located in the masked AppData hidden folders). This allows the Copilot assistant to answer queries like, “Find the Excel spreadsheet I was looking at while listening to Spotify last Tuesday.”
While the utility is high, the attack surface is significant. If a threat actor gains local admin access, the Recall database effectively becomes a complete log of user activity, bypassing the need for traditional keyloggers. Consequently, disabling this feature is often the first step in hardening a Windows 12 installation.
Method 1: The Soft Opt-Out (Settings Menu)
For standard users who want to pause the feature without editing system files, Windows 12 offers a granular toggle in the modernized Settings app. Note that this method may be reset by major “Moment” updates.
- Open the Settings app (Win + I).
- Navigate to Privacy & Security in the left-hand sidebar.
- Select AI & Copilot Permissions (formerly “Activity History”).
- Locate the section labeled “Recall & Snapshots”.
- Toggle the switch to Off.
- Crucial Step: Click on “Delete activity history” to purge the existing vector database stored on your NVMe drive.
While effective for the current session, many sysadmins report that this toggle can re-enable itself during “OOBE” (Out of Box Experience) prompts after updates. For a permanent solution, we must look deeper.
Method 2: Group Policy Editor (Best for Pro & Enterprise)
The Group Policy Object (GPO) method is the industry standard for ensuring the feature remains disabled across reboots and updates. This method essentially tells the Windows kernel that the Recall feature is forbidden at the policy level.
Step-by-Step GPO Configuration
- Press Win + R to open the Run dialog.
- Type
gpedit.mscand hit Enter. - Navigate through the policy tree:
- Computer Configuration
- Administrative Templates
- Windows Components
- Windows AI & Copilot
- Look for the setting named “Turn off Windows Recall” or “Disable User Activity Snapshots”.
- Double-click the policy and set it to Enabled. (Note: Enabling the “Turn Off” policy actually disables the feature.)
- Click Apply and OK.
- Open a terminal (Command Prompt) and run
gpupdate /forceto apply changes immediately.
Method 3: The Registry Hack (For Windows 12 Home Edition)
Windows 12 Home users do not have access to the Group Policy Editor by default. To permanently disable Recall on Home editions, we must modify the Windows Registry. Warning: Always back up your registry before making changes.
Registry Implementation
- Press Win + R, type
regedit, and press Enter. - Navigate to the following path:
HKEY_LOCAL_MACHINE\SOFTWARE\Policies\Microsoft\Windows\ - Right-click on the Windows folder key, select New > Key, and name it
WindowsAI. (If it already exists, open it). - Inside the
WindowsAIkey, right-click and select New > DWORD (32-bit) Value. - Name this value
DisableRecall. - Double-click
DisableRecalland change the Value data to1. - Optional: Create a second DWORD named
DisableSnapshotAnalysisand set it to1for redundancy. - Restart your computer.
Verifying the Disable Status
After applying these fixes, it is vital to verify that the NPU is no longer allocating resources to background snapshots. You can verify this via the Task Manager or Resource Monitor.
- Open Task Manager (Ctrl + Shift + Esc).
- Go to the Details tab.
- Look for processes named
AIStore.exeorRecallService.exe. If these are running, the service is still active. - Check the Performance tab and select NPU. If the graph is flatlining at 0% usage during standard desktop work, Recall is successfully disabled.
Managing Existing Data: How to Delete ‘Recall’ History
Disabling the feature prevents future recording, but what about the data already harvested? The semantic database file, often gigabytes in size, may still reside on your disk.
To manually purge this without relying on the Settings menu:
- Enable “Show Hidden Files” in File Explorer.
- Navigate to
C:\Users\[YourUser]\AppData\Local\Microsoft\Windows\Recall. - Delete the contents of this folder. Note that you may need to take ownership of the folder if “System” denies permission.
Frequently Asked Questions (FAQ)
Does disabling Recall affect Windows Copilot performance?
Disabling Recall limits Copilot’s ability to reference your past local activities (files you opened, sites you visited). However, it does not affect Copilot’s ability to answer general web queries or generate text/code. It essentially turns Copilot from a “personal assistant” back into a “chatbot.”
Can I exclude specific apps (like Banking apps) instead of turning it all off?
Yes. In the Settings menu under Privacy > AI Permissions, there is a “Blocklist” feature where you can add specific executables (e.g., Chrome, Password Managers) that Recall will ignore. However, privacy advocates argue that metadata (like window titles) might still be captured even if the content isn’t.
Does Windows 12 upload Recall data to the cloud?
Microsoft states that Recall data is processed locally on the NPU and is not uploaded to Azure servers for training. However, if you use “Cloud Sync” features or OneDrive backups for your user profile, there is a theoretical risk of this database being synced across devices.
Will this break Windows Updates?
No. Disabling Recall via Group Policy or Registry is a supported configuration for enterprise environments. It will not interfere with security patches or system stability.
Conclusion
The release of Windows 12 brings impressive advancements in local AI computing, but the “Total Recall” feature represents a paradigm shift in how operating systems interact with user privacy. While the convenience of a photographic memory for your PC is undeniable, the security implications of maintaining a comprehensive database of all user activity are equally profound.
By following this guide, you have successfully hardened your Windows 12 installation against unwanted semantic indexing. Whether you chose the soft opt-out or the permanent Registry enforcement, you have taken a proactive step in managing your digital hygiene. As AI integration deepens in future updates, staying vigilant and understanding the underlying “Entities” of your OS—services, policies, and NPU allocation—will be your best defense.